一,安装tp-link
无线路由器
那么下面我就来介绍一下如何使两个房间中的两台电脑通过无线宽带路由器和无线网卡快速共享上网吧。专题推荐:tp-link路由器设置教程
假设的环境是这样的,这套房子里有两个房间分别有电脑a、b,通过adsl连接上网,adsl连在电脑a上,另一个房间的电脑b无法上网。
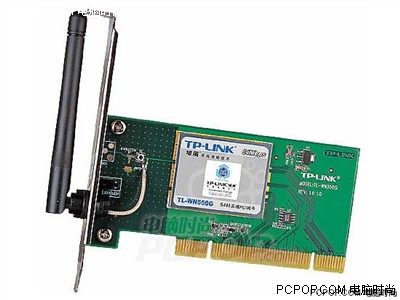
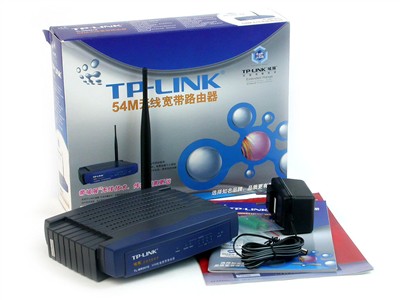
现在我们以tp-link的tl-wr541g无线宽带路由器以及tl-wn550g无线pci网卡为例看看如何安装配置让之达到我们的要求。
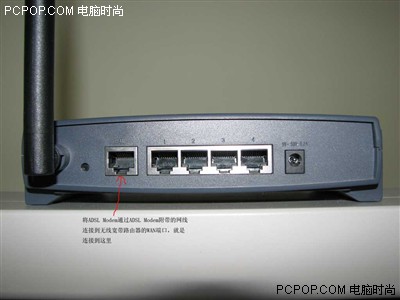
硬件的安装是相当简单的:在电脑a处,将adsl modem通过adsl modem附带的网线连接到无线宽带路由器的wan端口在准备一根50厘米长的网线,用它连接电脑a的网卡和无线宽带路由器的局域网端口。

然后把无线网卡安装在电脑b中,并安装无线网卡附带光盘中的驱动程序和工具软件,最后接通无线宽带路由器的电源,这样硬件的安装连接就完成了。
无线路由器的基础配置
在我们第一次配置无线宽带路由器时,参照说明书找到无线宽带路由器默认的
IP地址是192.168.1.1,默认子网掩码是255.255.255.0
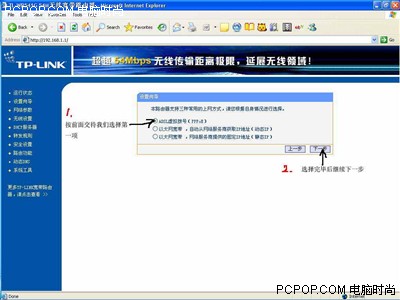
由于tp-link tl-wr541g的配置界面是基于浏览器的,所以我们要先建立正确的网络设置,我们已经将电脑a通过网卡连接到了无线宽带路由器的局域网端口,接下来有两种方法为电脑a设置ip地址。
1、设置电脑a的ip地址为192.168.1.xxx(xxx范围是2至254),子网掩码是255.255.255.0,
默认网关为192.168.1.1。
2、设置电脑a的tcp/ip协议为“自动获取ip地址”,然后关闭无线宽带路由器和电脑a的电源,首先打开无线宽带路由器电源,然后再启动电脑a,这样无线宽带路由器内置的dhcp
服务器将自动为电脑a设置ip地址。
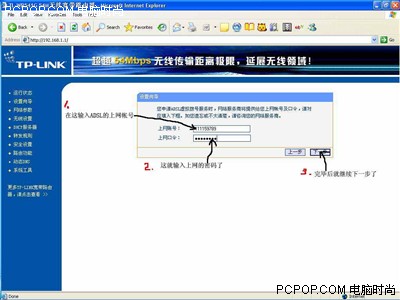
在完成上面的步骤后,我们使用电脑a,打开一个ie浏览器的窗口,在地址栏上输入http://192.168.1.1即可进入配置界面。
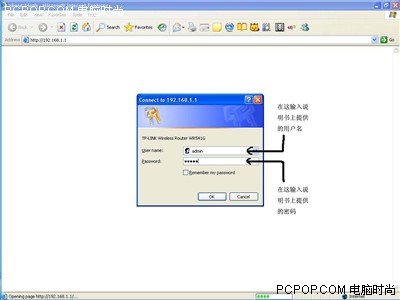
 回车后出现如下图所示输入默认的用户名、密码
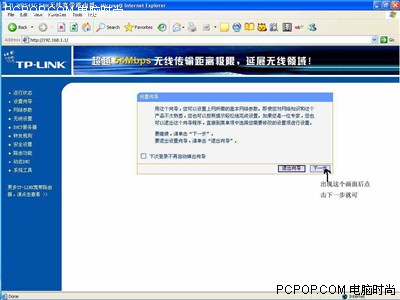
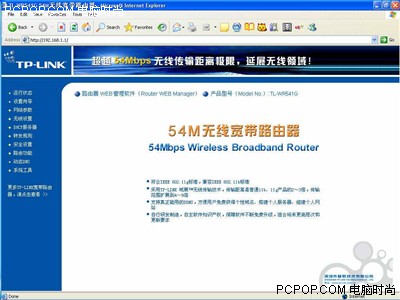
在上一步ok后出现下图,可以看到整个界面都是中文的所以下面的配置将十分轻松 。
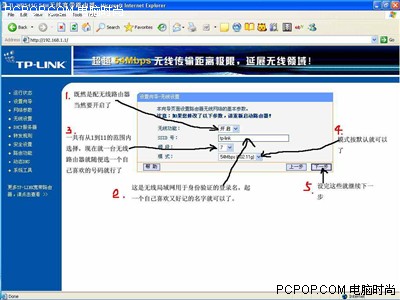
继续,这里要注意记下自己设的ssid名称后面会用到的。
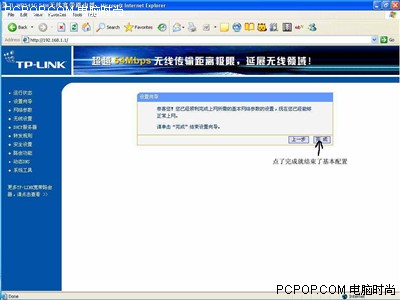
点击完成后就回到这儿了。

到这里完成了最基本的设置,这时通过电脑a就可以上网了,但是无线网络还要做一些设置来保证无线网络的安全,使别人不能进入无线网络而确保我们自己的电脑安全。
无线路由器的安全配置
无线网络的安全设置有两种比较常用,一种是通过密钥的安全认证,一种是通过无线网卡
mac地址的过滤,密钥认证适合容纳的电脑数量多网络比较大的无线网络,只要在无线宽带路由器端设置一次密钥,以后在每台加入这个无线网络的电脑上输入密钥就可以加入了。
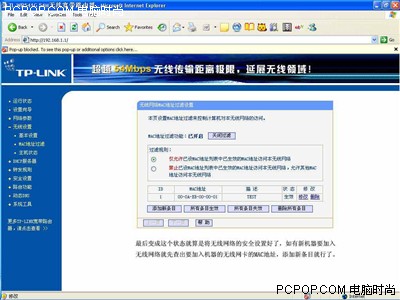
而mac地址(mac地址是每一块网卡在全球唯一的编码)过滤功能可以使具有某些mac地址的电脑无法访问本无线网络或只使具有这些mac地址的电脑访问本无线网络。而像我们这次的情况是就只有一台电脑要加入所以用mac地址过滤比较适合,同时安全性也会非常强外部的无线设备将无法进入我们的无线网络了,所以只要在无线宽带路由器端添加一个mac地址就行了,那么我们就按下面图中的步骤来做:

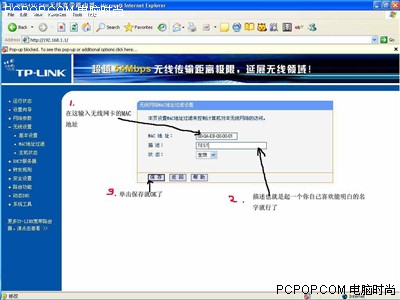

启用过滤
接下来我们需要配以下无线宽带路由器的dhcp功能,让我们今后的使用更轻松方便:
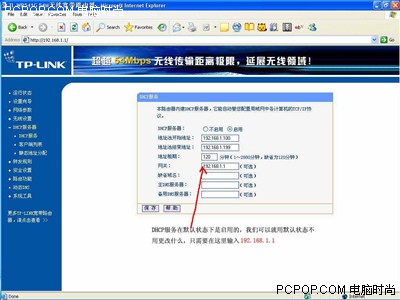
这样我们就完成了一次最简单的无线宽带路由器的安装配置。
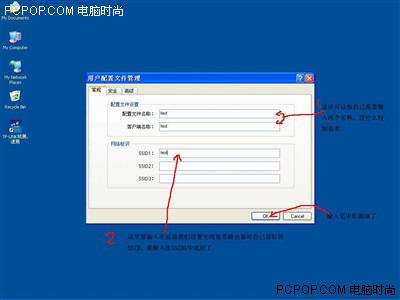
配置你的无线网卡
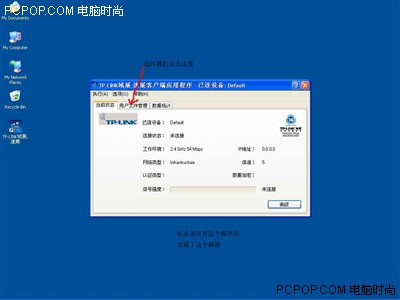
现在我们只剩下最后设置一下安装在电脑b上的无线网卡,就可以通过无线网络上网了,所以我们继续:

点击图标进入后看到
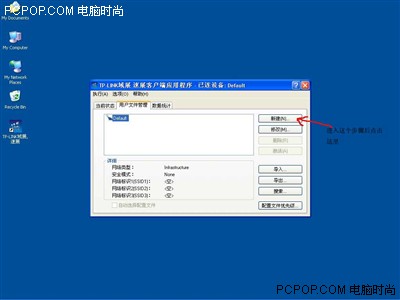
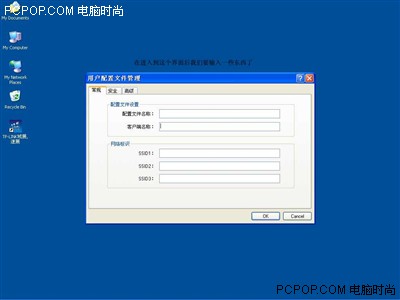
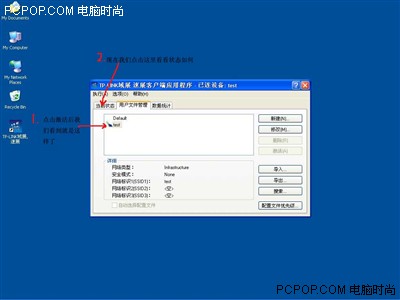
输入配置文件
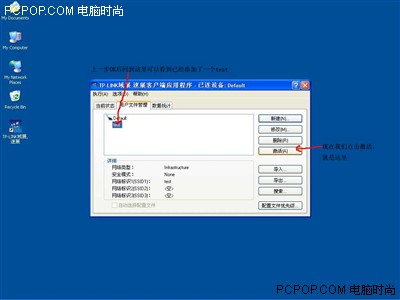
激活过程
最后一步,大功告成看看吧!
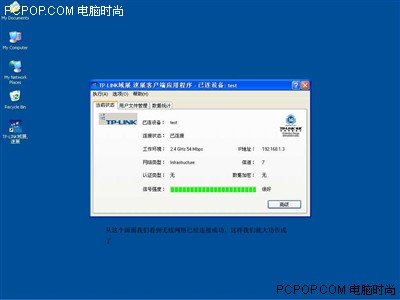
这时我们就可以用电脑b通过无线网络上网了。当然我们也可以在无线网络中共享文件、
打印机等,只要通过相应的设置就可以实现了,这次我们暂时先不介绍了。下次会有详细文章进行介绍。感兴趣的朋友请继续关注我们无线频道。